

How to create a simple podcast
...without spending much money

I love a good podcast. Conveniently, they’re now easier to create than ever. If you’re a newsletter writer, it’s only a small jump to also be a podcast producer. Today’s post is all about how to do just that.
I produced The Writing Life show for the National Centre for Writing between 2018 and 2022, which afforded me the opportunity to speak with an incredible line-up of writers. You can check out some of those interviews here:
Amazing podcasts with amazing writers

In 2016 I joined the National Centre for Writing as their digital guy and it’s proven to be a wonderful experience from start to finish. A personal highlight has been producing the weekly podcast, The Writing Life. Each week the show talks to a writer and unpicks techniques and insights, so it’s absolutely on-point for readers of this newsletter.
J. Michael ‘Babylon 5’ Straczynski, Kieron ‘Wicked & Divine’ Gillen, Mega Robo Bro
, Greg ‘Hades’ Kasavin, Kelsey ‘Outer Wilds’ Beachum, Jon ‘Inkle’ Ingold — this was proper dream come true stuff.Anyway, even back then, not so long ago really, it was still relatively tricky and expensive to make a podcast. That’s all changed, with the arrival of excellent quality entry level microphones and extremely simple and free podcast hosting.
I thought it would be useful to share some pointers, to help any of you who are thinking about giving it a go.
What kind of podcast?
A podcast can be just about anything. Fiction, non-fiction, serialised, a panel or solo presenter. It doesn’t even have to be audio-focused these days, with lots of podcasts prioritising YouTube and recording high quality video.
I’m not touching the video side of things, mainly because I really don’t like video podcasts. The entire point of podcasts, for me, is that I can listen to them while I’m doing something else. I listen to them while washing up, or cooking, or folding clothes, or going for a walk. I can’t do any of those things while staring at a video.
An audio podcast makes doing a boring task more enjoyable, and those chores suddenly become a time to inform myself about a wide range of topics. A video podcast, by contrast, demands my attention and prevents me from doing anything else at all.
Anyway. If you like video podcasts, that’s all fine. No judgement here.
What I’m covering today is mostly single speaker podcasts, though I will touch upon interviews and multi-speaker setups.
There are three phases to producing audio:
Pre-production: planning the show, making sure you’ve got a good setup, writing a script, inviting your guests and so on.
Production: the actual recording of all the component pieces that you’ll need for the episode.
Post-production: taking all the recorded elements and editing them into something you can release.
Once that’s done, you also need to host the podcast somewhere. It needs somewhere to live online, so that other people can actually access it.
Pre-production: gear & recording setup
You don’t need this:

I’m not an audio engineer, clearly, and have no formal training in podcast production (despite having done quite a bit of it). If you’re reading any of the following and have better or more recent tips, please do jump down into the comments to help everyone out.
Let’s talk equipment. Here’s what you’re definitely going to need:
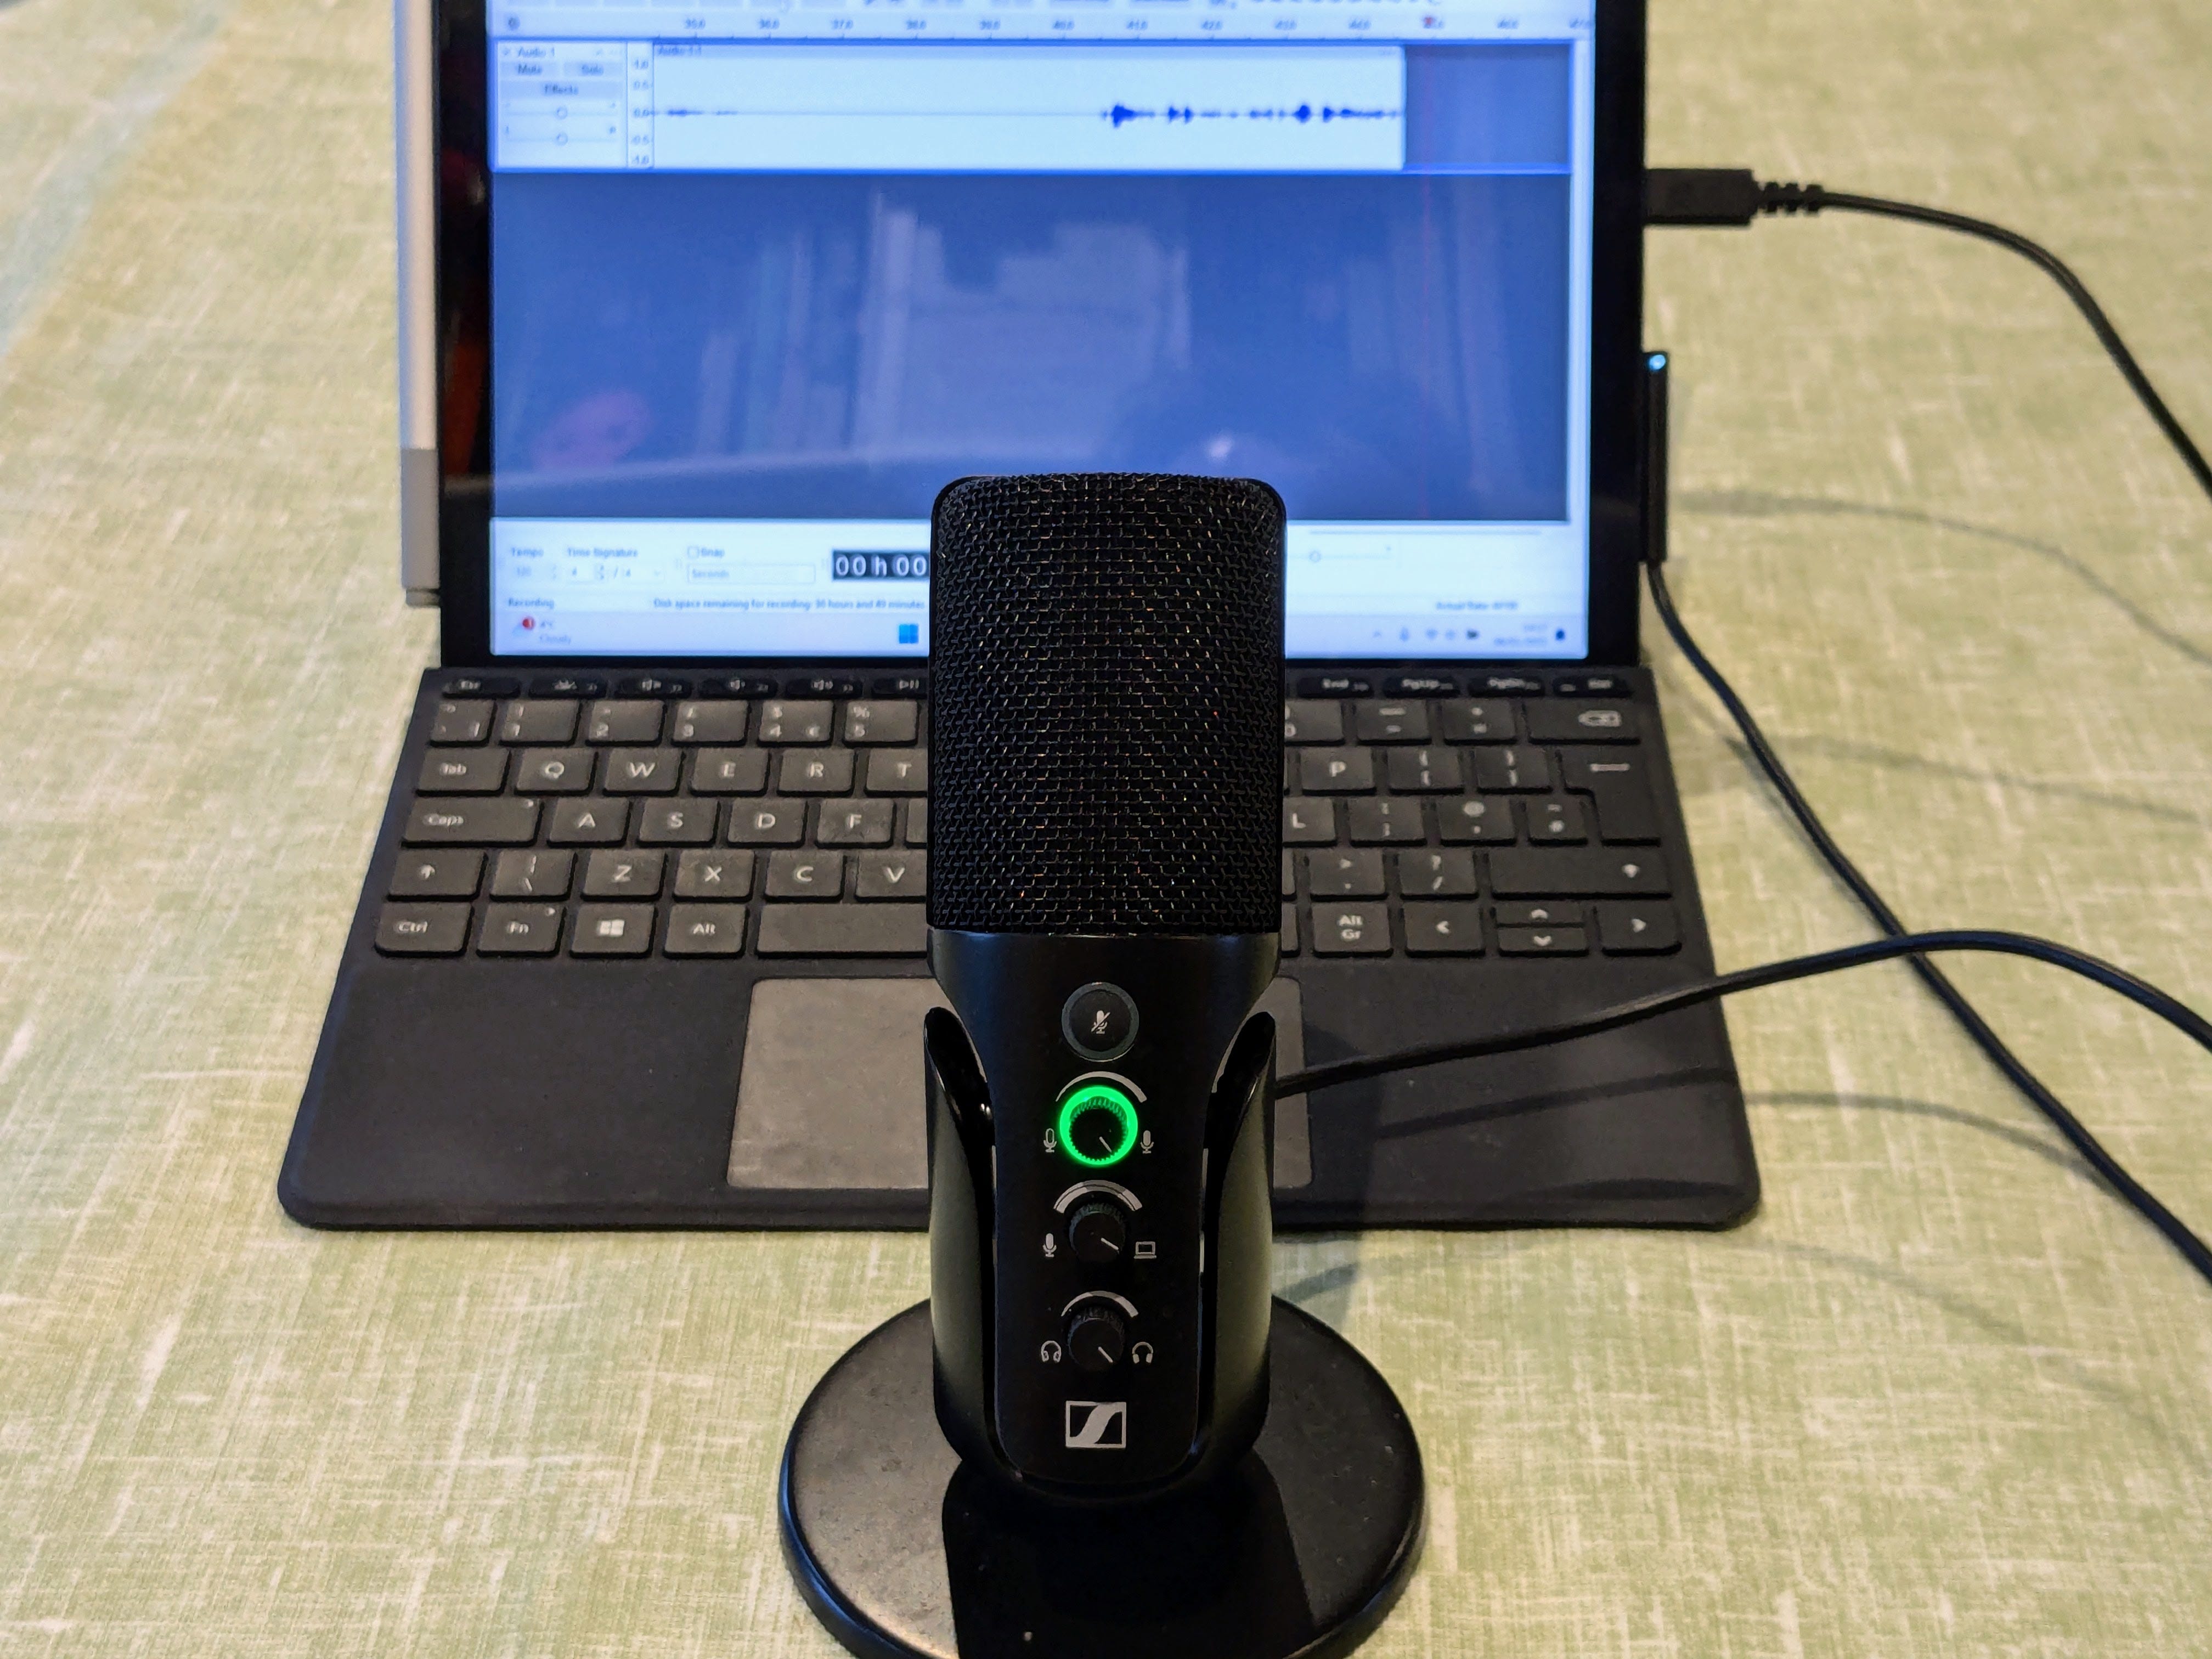
A microphone. Your phone and computer already have built-in mics, but their quality and convenience vary massively. You really want to get yourself a dedicated microphone that you know is going to deliver good results. I use a Sennheiser Profile, which I settled on after lots of research.
It’s very small, so is easily portable.
It’s USB-C, so easy to connect to most modern devices (including phones).
Audio quality is good, and it produces a sound that is just right for that podcast/radio vibe.
It is heavily directional, meaning it focuses in on your voice and helps to reduce extraneous sound.
It’s cheap: $119 or £99. That’s not nothing, but for the quality it’s good value. Vastly better than cheapo $30 mics, but without tipping over into painful $200+ territory.
A computer. Anything goes here, really, and you don’t need a supercomputer to edit audio. What you do want is a quiet computer — ideally a laptop for portability and one that runs silently, without noisy fans. Chances are you’ve already got a computer which will do the job.
Optional extras:
A pop shield, if you have a particularly plosive voice. Though I’ve found the Sennheiser Profile does very well without needing one.
A microphone stand or arm, for better comfort/positioning.
Decent headphones, which will make editing easier and more accurate.
Production: recording tips
You’ll want to find a good place to record. Somewhere nice and quiet, so ideally a room away from hustle and bustle.
Our brains do a tremendous job of filtering out background noises: wind, electrical hums, fridges, washing machines, children shouting in the playground next door, cars driving past. If you’re recording audio, you need to learn to turn off your brain’s automatic filters, so that you can identify unwanted sounds.
There’s nothing worse than listening back to a recording and discovering that there was a siren going off in the distance, or a clock was ticking really noisily next to the mic.
When picking your recording space, also pay attention to the furnishings in the room. A bare room will be more likely to create echo and reverberations, making you sound distant. Look for a space with soft furnishings — cushions, couches, curtains — that will absorb sound and reduce echo. Books are good for this, too.
In an ideal world we’d all have dedicated recording studios with proper soundproofing, but practically that’s not always possible. The good news is that you don’t need anything that fancy — a cosy space with books and cloth will do the job.
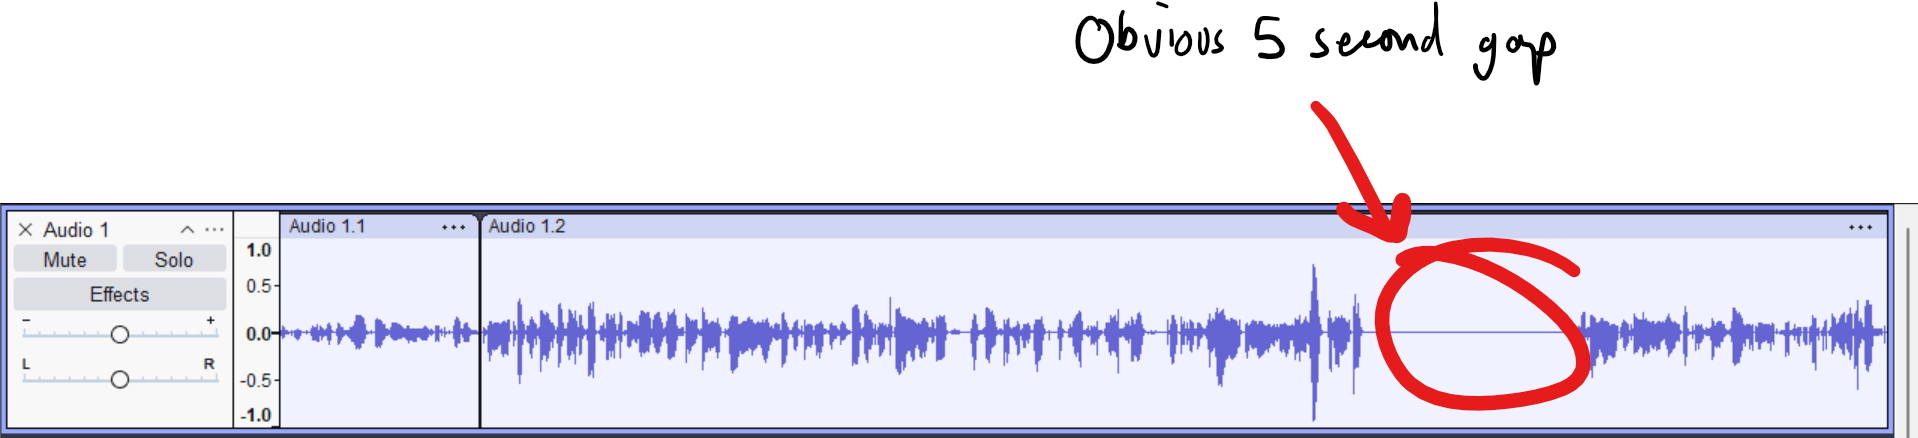
Before committing to the actual recording, always check your levels. You don’t want to be too loud (which will create clipped audio, sound horrible and basically can’t be fixed) or too quiet (which will require boosting in post, and often introduce a lot of background noise).
You’ll also want to record at least 10 seconds of ‘silence’ at the start. This picks up all the ambient noise from the surroundings, as well as any low level noise from the mic itself. Having that 10 second clip will be useful later.
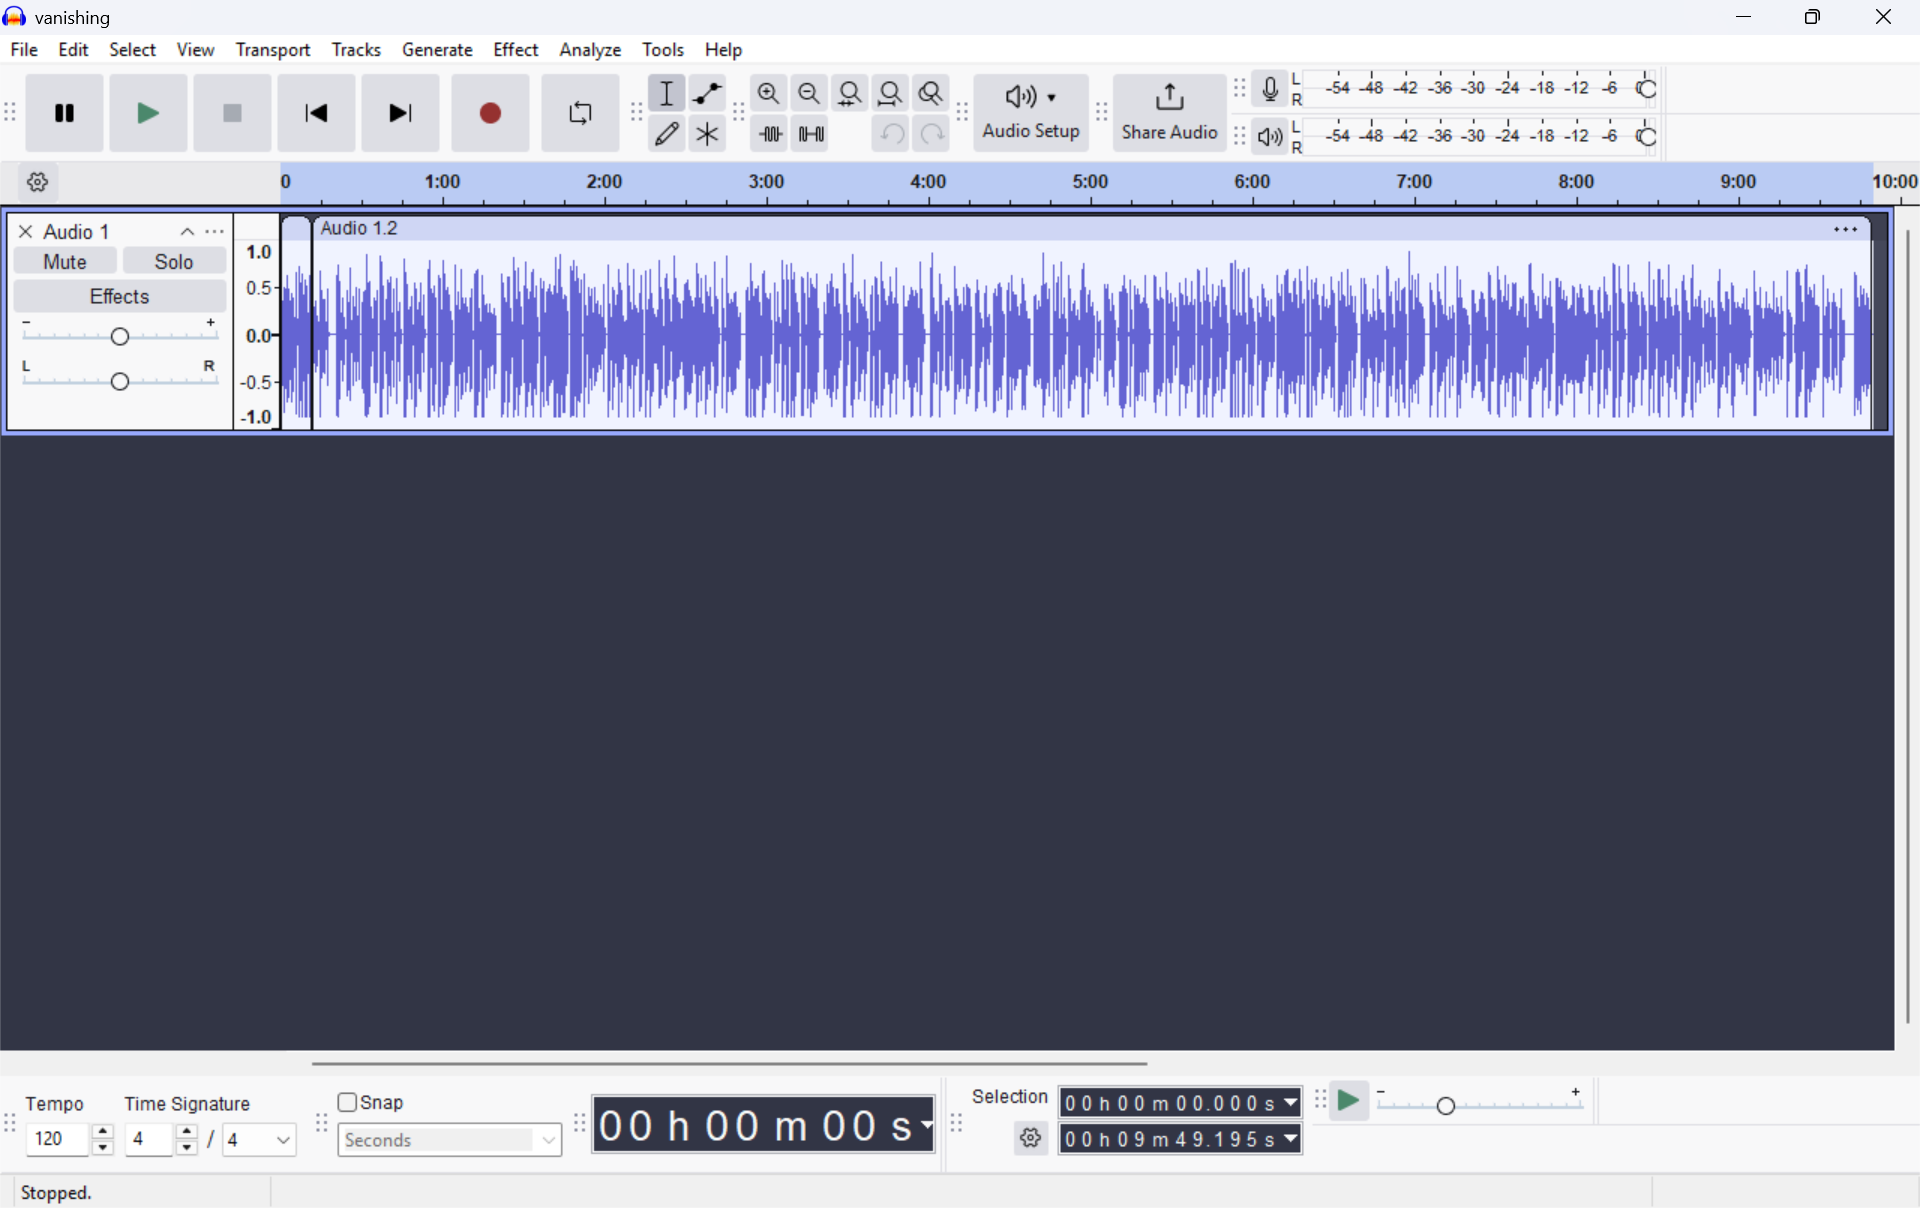
I record straight into my audio editor, which shows the waveform and levels as recording proceeds. That way I can see at a glance if everything is where it needs to be. The louder and more detailed the waveform (without being too loud), the better, generally.
One last tip, especially if you’re on a tight production schedule: if you make a mistake, wait five seconds before resuming. That will enable you to spot the error in the waveform when you’re editing. It’s much faster to jump from one error to the next, fixing them as you go, without needing to listen to the entire recording.
What about guests or panel shows?
If you want to interview people or feature multiple hosts, you’ve got two options:
Record it in person. This will likely require additional microphones, or a microphone that is designed to record a wider area (e.g. both sides of a table). I used to use a Zoom H4N, which is a really versatile and portable recorder.
Record online, using a service like Zencastr, Riverside or Streamyard. These record separate channels for each speaker, so you get nice, clean recordings that can be put back together in the edit. Make 100% sure all participants are wearing headphones, so that you don’t have any noise cancellation issues. Insist upon it! They also record locally to each participant’s computer, so you shouldn’t be affected by temporary internet glitches.
Post-production: editing options
I edit in Audacity. It’s not the best, but it is entirely free. I used to work professionally in Adobe Audition, which at the time was a better experience, but I’ll be damned if I’m going to pay Adobe subscription fees for my personal work.
Audacity is packed with features, 90% of which you absolutely will not need to use. This isn’t the place for a software tutorial, but the process I use which produces decent results is pretty simple:
I use the 10 seconds of silence to denoise the entire recording, which gets rid of any unwanted low level background hiss.
I edit the recording, removing errors and tightening it up.
I apply a Normalize filter, in case the recording came in a little quiet.
I apply a Limiter filter, which flattens out the waveform and reduces the overall dynamic range of the audio. Now, if you’re recording music you definitely don’t want to do this, as you want to retain as much range as possible. But for a voice-only podcast, limiting the waveform reduces the difference in volume between the quietest and loudest parts of the recording. It means that a whisper will be as audible to the listener as a shout, and they won’t need to be constantly fiddling with their device’s volume setting.1
That’s it! I then export the finished piece to an mp3 for uploading (or to a WAV if I want to maintain maximum quality, without unwanted compression — again, not really an issue for basic voice pods, but important if you’re a musician).
There are also various semi-automated online editing services, which might be worth investigating if you’re in a hurry or don’t want to learn how to use editing software.
Hosting & podcast distribution
You’ve got your edited file ready to go! Now what?
That file needs to end up on the internet, in a place that podcast apps can access. Otherwise nobody is going to find it.
There are many podcast hosts, not all of them equal. Soundcloud used to be a cheap host for people just starting out, but it’s quite limited and not really designed for podcasting. I used to use LibSyn which was great, but I haven’t any recent experience of it.
If you’re reading this, chances are you have your own Substack newsletter, or are considering it. The good news is that this makes podcasting even easier. You can create a podcast directly within your Substack publication and upload audio directly. This then goes out as a newsletter to your subscribers, and exists in your web archive, and also gets distributed to the major podcast libraries.
In other words, you upload your audio into Substack, just like you would create a normal post, and all of this happens pretty much without you needing to do any extra work:
The episode is sent directly to your publication subscribers
It can be listened to in the Substack app, where new listeners can discover you
When you publish the episode, it will automatically be distributed to any podcast library that you’ve set up, such as Spotify, YouTube and Apple podcasts.
When a new reader subscribes to your newsletter, they are given the option of also subscribing to your podcast using their preferred podcast app.
Back in the day you’d have had to post to multiple places and do a whole lot of legwork. These days, it’s a couple of clicks: upload the audio, publish it.
I do this with most of my newsletter posts. This provides an audio voiceover for anyone reading the post on the web, in their email or in the Substack app. But it also makes all of my material available in podcast apps and on YouTube — extra places for people to find and enjoy what I do, without me having to spend ages managing each platform.
In summary: it’s cheap and easy
All you need is a $100 microphone, the computer you’ve already got, a bit of knowledge of how to edit audio, and a free Substack account. Even if you have no interest in ‘producing a podcast’, it’s still worth considering simply as an add-on bonus for your current readers.
If you have other recommendations for gear or techniques, do head down into the comments to share with the community.
Thanks for reading!
Something very exciting happened over the weekend.
For a while I’ve had a fiddly plot detail in Tales from the Triverse, my ongoing weekly serial, which I couldn’t quite resolve. Nothing major, but a quirk of the made-up wibbly wobbly magic system in the story that doesn’t quite make sense.
On a whim, I posted this over on Substack Notes:
Within a couple of hours I had suggestions and direct messages from a bunch of people. I followed up in DMs with some information about the fiddly plot detail, and within 24 hours had highly detailed responses from very clever people. The fiddly plot detail has not only been resolved, but in a way that opens up some very useful new doors.
I’ll write more about this once the relevant details have played out in the story, but in the meantime I’d like to say a huge thank you to
, (also thanks to for suggesting in the first place), , and . You have all been far too generous with your time, and what a wonderful example of the supportive writer community we have around these parts.Christopher Nolan has never used a Limiter filter.
This is great! Couple of notes to help out others (because I've spent my holiday break putting together my serialized fiction as a podcast). There is great music available for free or relatively little licensing costs at Incompetech, Pixabay, Musopen, and Free Stock Music. Also, consider what your cover art is going to look like and don't be afraid to use something like Canva to create it. Really useful!
You don't even need the $100 microphone. I used to have one of those, but I switched to a crappy £15 mic and everything works the same. I have about 40 regular listeners (and counting) to me reading my fantasy serial which is actually way more than I imagined!